As you can see, we are in a new world of technology and speed! Long gone are the days of exhausting tedious research. Now, with the abundant use of the internet, we have the whole world at our fingertips. The days of searching for a home by driving through the desired neighborhood and spotting the house of your dreams with a “For Sale” sign on it are over! This new age has now allowed you to find multiple “dream homes” at the same time, view their pictures; in and out and often times take a virtual tour.
Considering this, as a seller, you want to make sure that you are able to capture every spectacular image of your home that matters. What we mean by what matters is simply it is more effective to take a picture of the entire bathroom rather than only the toilet bowl. You with us? Great!
When you’re selling your home by owner, we suggest you make the extra effort to hire a photographer to take professional looking photos of your home. However, sometimes funds are limited and hiring a professional photographer is not an option. In that case, we have some great tips for you to follow to get your listings “Selfie” in its best light!
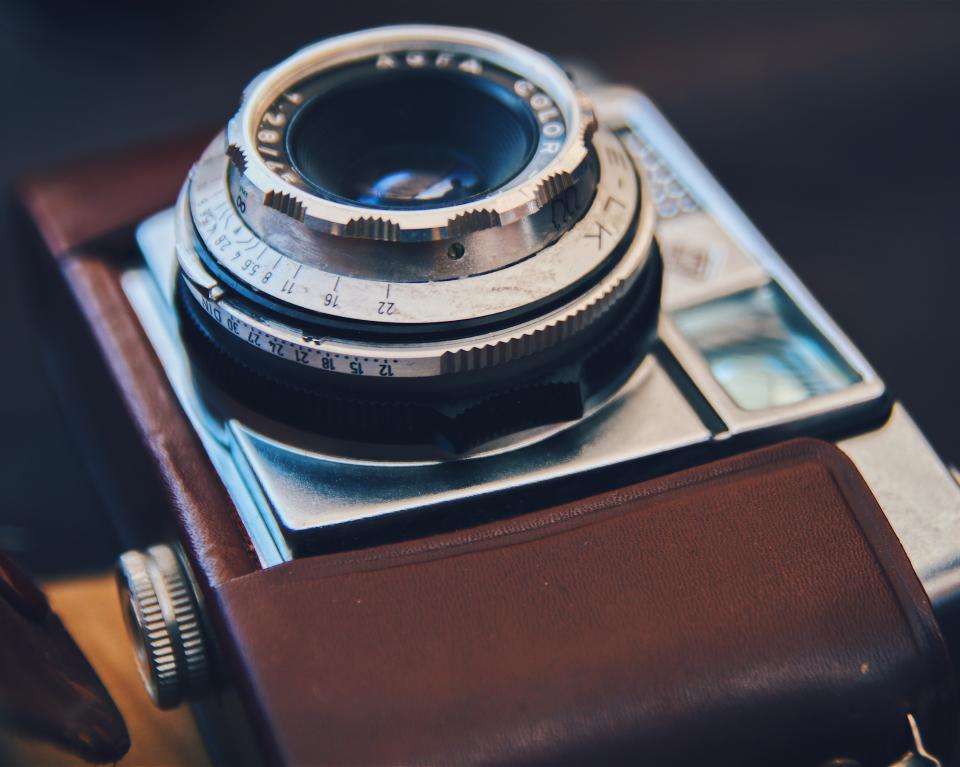
1. Invest In A Good Camera
Although Smartphone cameras are top notch now a days, we suggest you invest in a digital camera. Before you hit your local electronics chain store, ask friends, family and maybe even co-workers (the one’s that like you) to borrow a camera for a weekend. If that doesn’t work, invest in your home sale and buy one. It doesn’t have to be top quality or expensive. Experts say that a digital camera with at least 5 megapixels will produce quality photos.
2. Stage Your Home
Now that you’ve gotten the camera, consider staging your home. Home staging is a great idea to give your home a nice orderly feel. Getting clutter away and getting rid of miscellaneous things that are irrelevant to the potential buyer are important.
For more info on home staging, read our blog post Home Staging: What Is It & How Do I Get it Done?
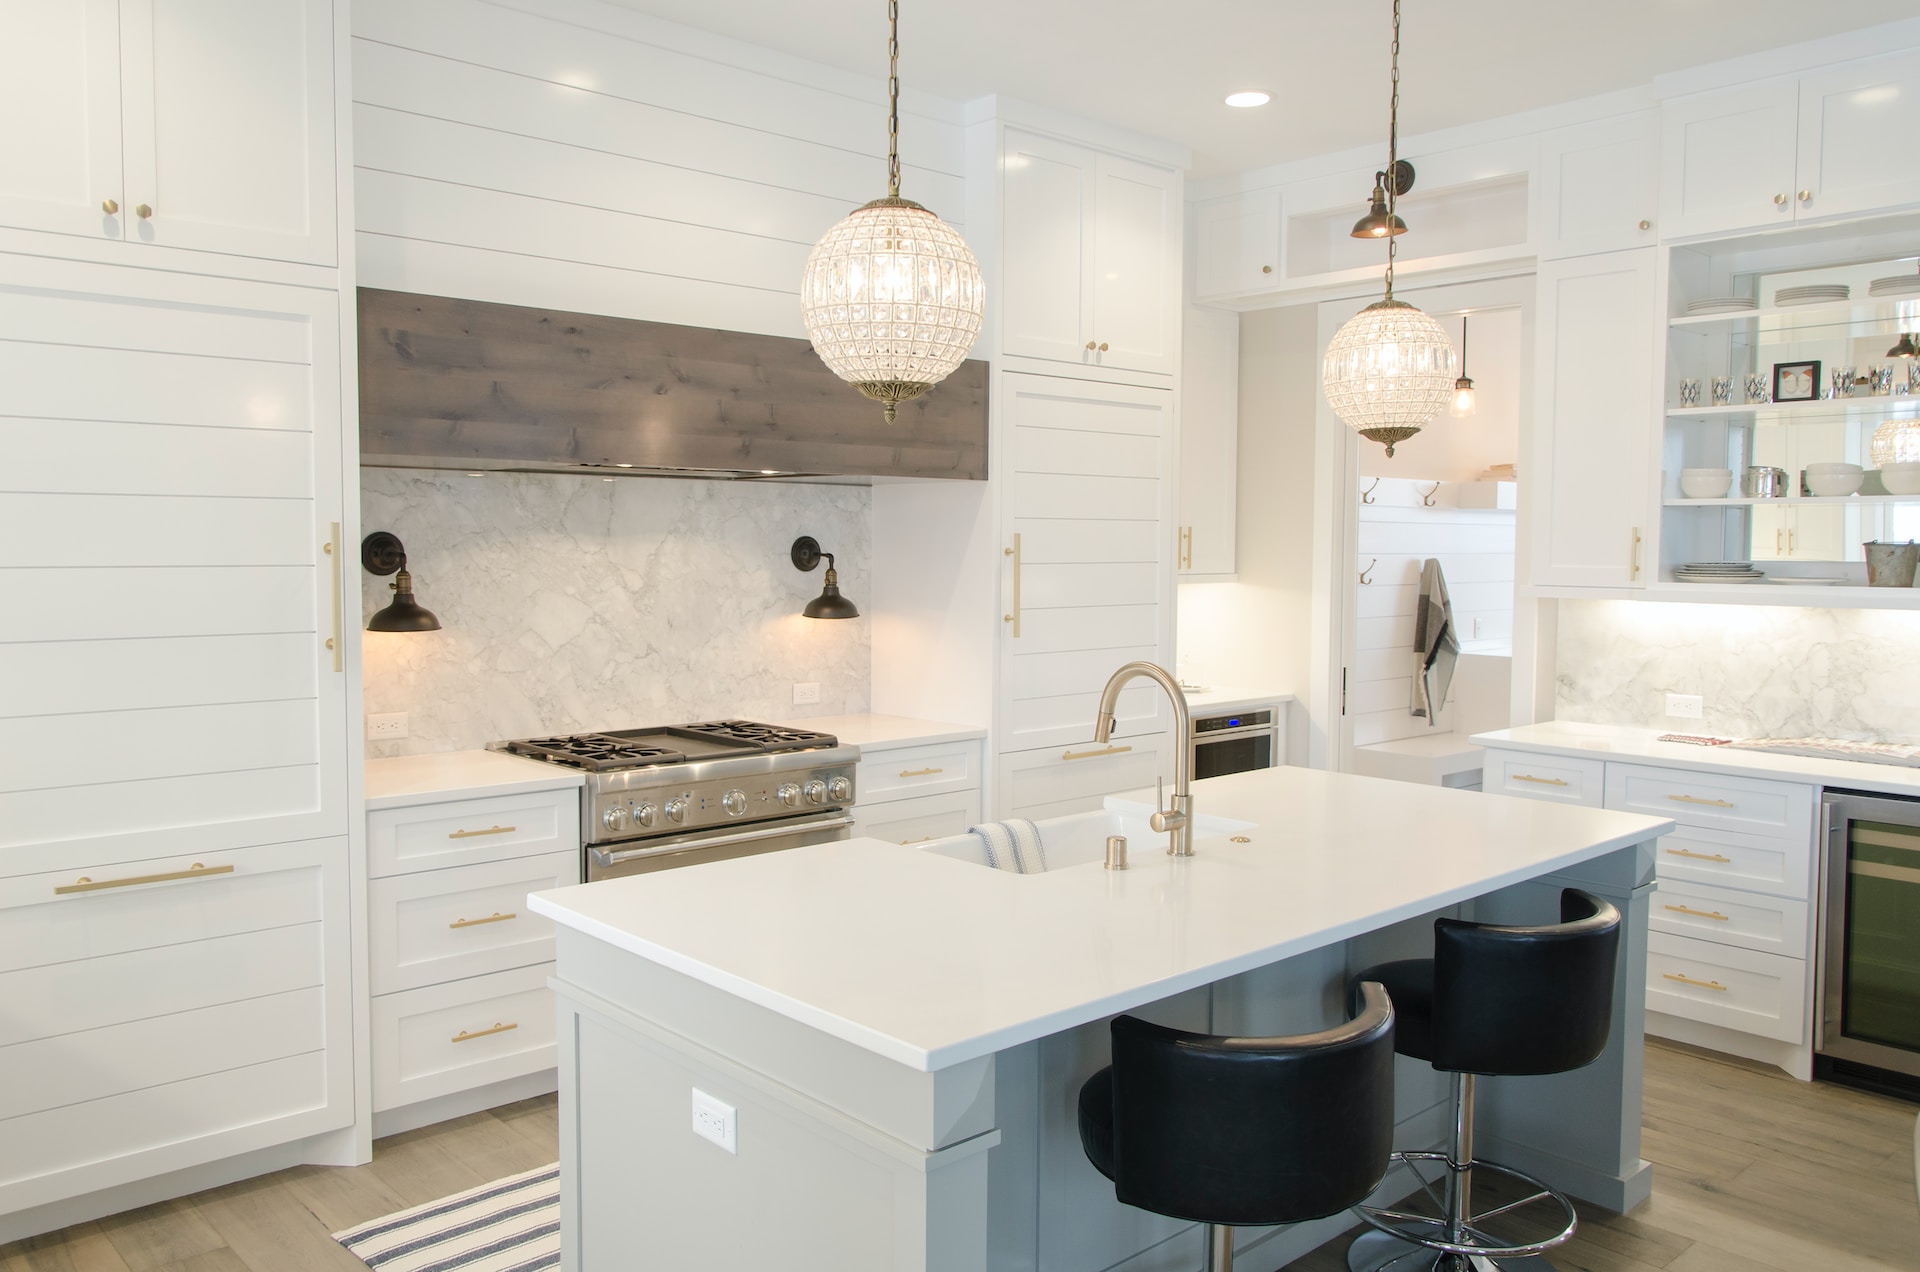
3. Let the Light Shine
Natural lighting is always your friend. Taking pictures of your home with natural light lets the room look brighter, more crisp, more natural and alive. Go from room to room of your home and open the curtains and blinds. You can turn on the light if you need a little more lighting and to avoid using camera flash. Sometimes the flash can reflect in mirrors and windows giving off an unpleasant glare. We suggest you take your photo’s on sunny days between noon and 4 pm when the sun shines its brightest.
Sell smarter
List your home on the MLS for $99
No listing agent, no 3% commission. Beycome handles your MLS listing so you keep more of what your home is worth.
Sell your home →Buy smarter
Get up to 2% back at closing
Buy any home with a Beycome agent and receive a rebate of up to 2% of the purchase price — paid to you at closing.
Buy a home →4. Stay Out of Sight
Taking photos of your home are meant to highlight the home. When taking pictures, it is best to leave your adorable baby, sweet ole grandma, Chicpea & Chuchu the family pets and of course your beautiful mirror reflection, out of the photo. This is your moment to unleash your inner photographer and take stunning pictures of your beautiful home minus the beautiful people and pets that live in it.
5.Your Home’s Best Angle
According to professional photographers, taking a few full room shots from a kneeling position allow the room to seem larger and get a better angle of the room. Shooting photos from approximately 20 inches off the flower will give you those magazine shots people love to see.
6. Take A Few Character Shots
Are you super proud and in love of that custom crown molding you installed? Well, get on a ladder and give it a close up shot. Remember, you don’t want to get too close to it so that it is unrecognizable. Instead, shoot it from an angle so that you can show its detail and accent.
7. Do Not Photoshop!
Nothing is perfect, such is life! Don’t attempt to upgrade your home via Photoshop because this is misleading and wrong. If your home has some cracks, that’s okay, you don’t need to photo the cracks. Embrace authenticity and keep the true essence of your surroundings. Trying to digitally enhance reality can set unrealistic expectations and detracts from the genuine charm of your space. Instead, focus on capturing life as it is. If you must tweak your photos, simply resize images now to fit your needs, but avoid altering the details that make your place uniquely yours.
Now that you’ve got some ideas on how to take your home photos, we suggest you take several photos and share them with family and friends so they can help you decide which ones are most appealing. Remember the goal is to accent the home and tell a story. When sorting your photos, place them from the entrance to the back of the home and then, floor by floor.
Other FSBO Resources That You May Be Interested In