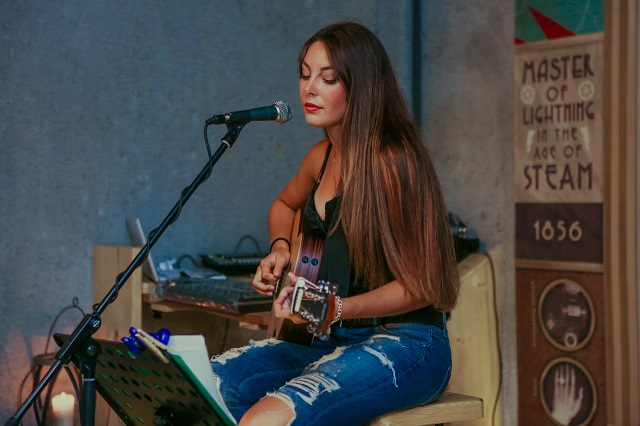
Musicians often see everyday spaces differently. A simple closet can become the perfect DIY recording booth. If you’re ready to improve your sound and build a small home studio, here’s how to turn a closet into an effective recording space.
Why Closets Make Great Recording Booths
Closets are small, enclosed spaces—ideal for reducing echo and capturing clean vocals. But to get professional-quality sound, you need padding to prevent bounce-back into the microphone. Without it, recordings may sound flat or echoey.
Choose Your Soundproofing Materials
Acoustic foam delivers the best results and usually costs under $150 online. If you want a cheaper option, soundproofing blankets, moving blankets, or egg crates also absorb sound well.
How to Install Acoustic Foam
First, measure your closet to determine how many foam panels you need. Buy a little extra to cover any gaps. Use adhesive spray from a home improvement store, lightly coat the back of each panel, and press it onto the wall.
Alternate panel directions—vertical, then horizontal—to boost absorption. Finish by adding carpet or a small rug if your floor isn’t already carpeted.
Budget-Friendly Soundproofing Setup
If you’re using blankets and egg crates, start by fully covering the walls with blankets using tacks or nails. Make sure no wall is exposed. Then attach egg crates on top to create an additional sound barrier.
For hardwood floors, add a rug or pad; carpet already absorbs sound well.
Sell smarter
List your home on the MLS for $99
No listing agent, no 3% commission. Beycome handles your MLS listing so you keep more of what your home is worth.
Sell your home →Buy smarter
Get up to 2% back at closing
Buy any home with a Beycome agent and receive a rebate of up to 2% of the purchase price — paid to you at closing.
Buy a home →Enjoy Better Recordings at Home
Soundproofing a closet is an easy, affordable DIY project that dramatically improves recording quality and reduces noise complaints. You’ll have a private space where outside noise stays out and your music stays in.
Now that your home studio is ready, it’s time to hit record and start creating.
Other Resources That You May Be Interested In