Do you consider your bathroom only when something goes awry? If so, that is understandable. Thankfully, some of these issues can be addressed with a bit of handy work. In this post, we will share the top DIY tips every homeowner should know, including some top bathroom DIY tips. This will help you deal with their bathroom problems! We’ll cover all matters including fixing leaky faucets and replacing broken tiles. No task is too small or large for us. So whether it’s a minor problem or an entire renovation project, don’t pass up our best tricks and advice for top DIY insights!
Bathroom DIY tips – Everything a homeowner should be aware of to implement top strategies.
The bathroom represents one of the most important and heavily used spaces in any home. From shower heads to toilets, there is a lot to understand. You should know the ups and downs of shower tape and sealant. Bathroom maintenance and repair can be complicated. But with the right information, any homeowner can tackle common DIY tasks. We will focus solely on DIY tips, excluding electrical, gas-related, or plumbing tasks. These may require the assistance of a licensed professional.
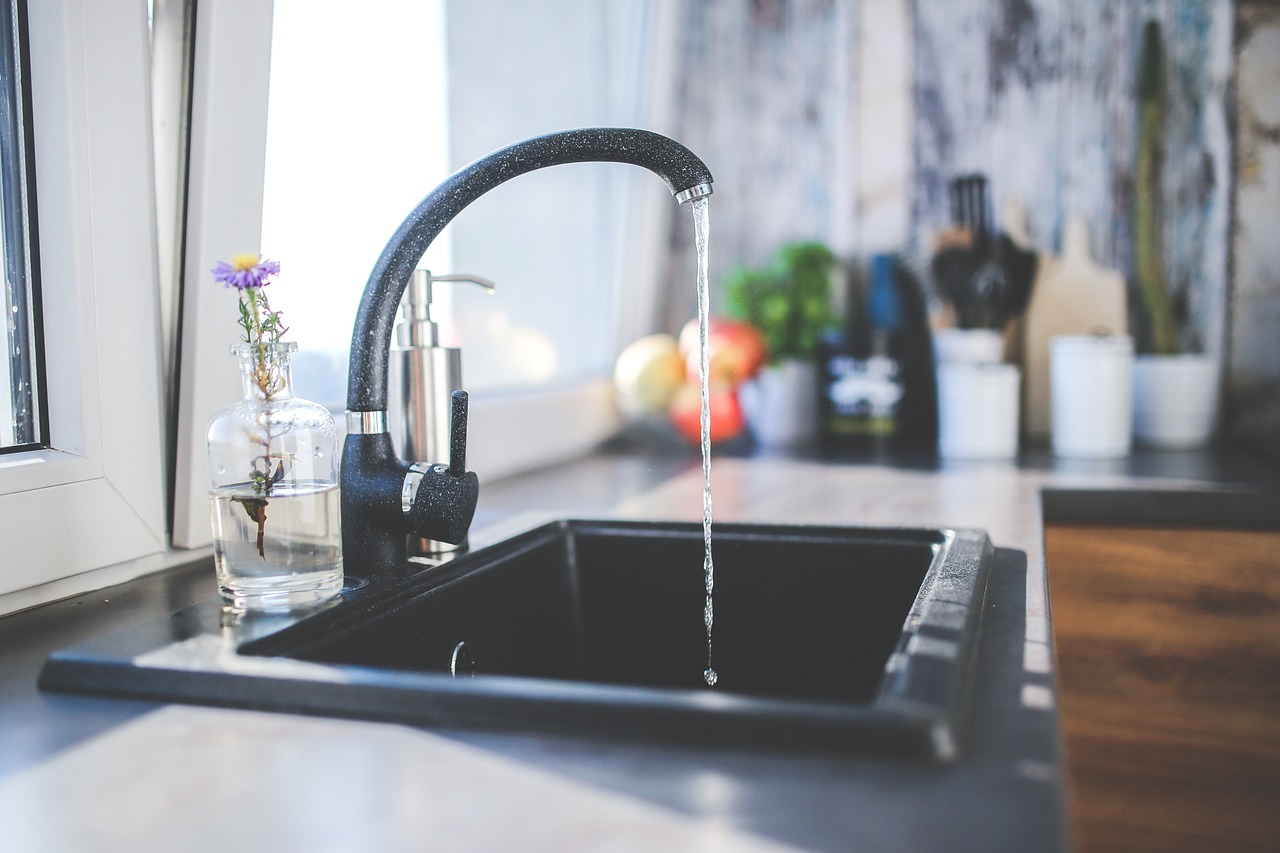
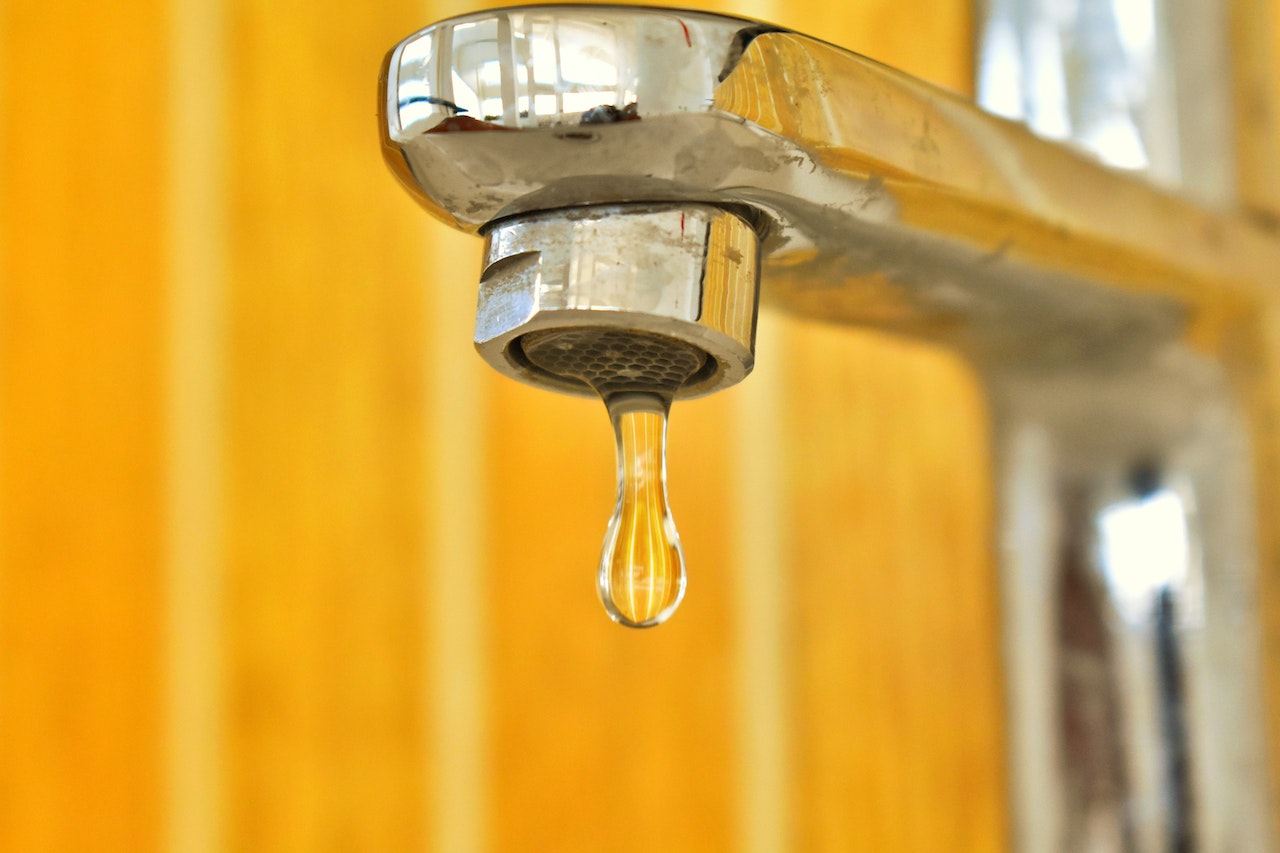
Fixing leaky faucets
A leaking faucet can be annoying and costly. If you pinpoint the source of your leak (usually near the handle, the seal, or around the base) you can likely fix it yourself. Gather the appropriate tools, such as a wrench and screwdriver, and follow these steps. First, turn off the water supply valve located beneath the sink. Next, remove any handles or decorative pieces that may block access to the faucet’s interior components. Once complete, use the wrench to remove any corroded parts. Replace components if necessary. Use the plumber’s tape or a sealing compound around the new seal, and secure it with the screwdriver. Finally, turn on the water supply valve to check that your faucet is no longer leaking!
Replacing broken tiles
Tile damage can be more time-consuming than fixing a leaky faucet, but it is manageable. Any homeowner can replace broken or chipped tiles. First, gather the necessary tools. These include a hammer, chisel, putty knife, grout saw, and tile adhesive or mortar. Once you have these, you can begin removing the damaged tiles. Use the hammer and chisel to chip away at them for top bathroom maintenance. You may also need the grout saw to cut through any existing grout. Once removed, apply the adhesive or mortar to stick down the new tiles. Then use the putty knife to remove any extra material. Finally, go over the area with fresh grout and sealant for a clean finish!
Sell smarter
List your home on the MLS for $99
No listing agent, no 3% commission. Beycome handles your MLS listing so you keep more of what your home is worth.
Sell your home →Buy smarter
Get up to 2% back at closing
Buy any home with a Beycome agent and receive a rebate of up to 2% of the purchase price — paid to you at closing.
Buy a home →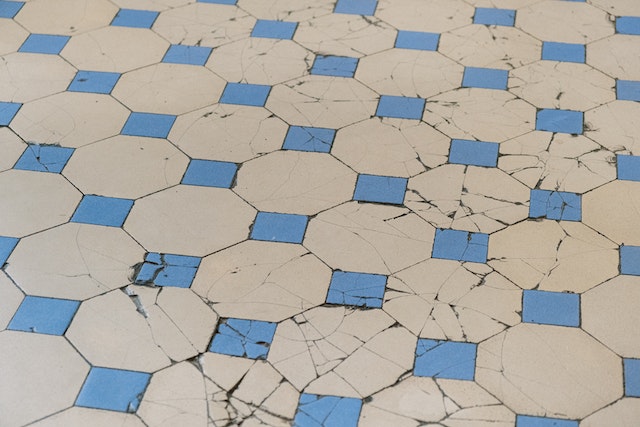
Remove mildew from grout
Mildew in bathrooms is an unfortunately common occurrence. To effectively remove it, you need to use a stronger solution than just plain water. Mix one part bleach with four parts warm water and apply the mixture directly to the affected grout lines. Cover them completely and let sit for 15 minutes before scrubbing gently with a brush or cloth. Finally, rinse with regular water and let dry.
These are just a few of the common DIY tips for bathroom maintenance and repair. Every homeowner should know them for top results. With these tips and tricks in mind, you can now confidently address minor issues. You can do this before calling in an expert.
The Best Flooring Trends in 2023 to Watch
Keep Your Home Appliances Operational with These Useful Tips
Maximize Your Property Value with Smart Renovations
Painting Your Property Is the Right Way to Increase Market Value
Spruce Up Your Kitchen Without Breaking the Bank
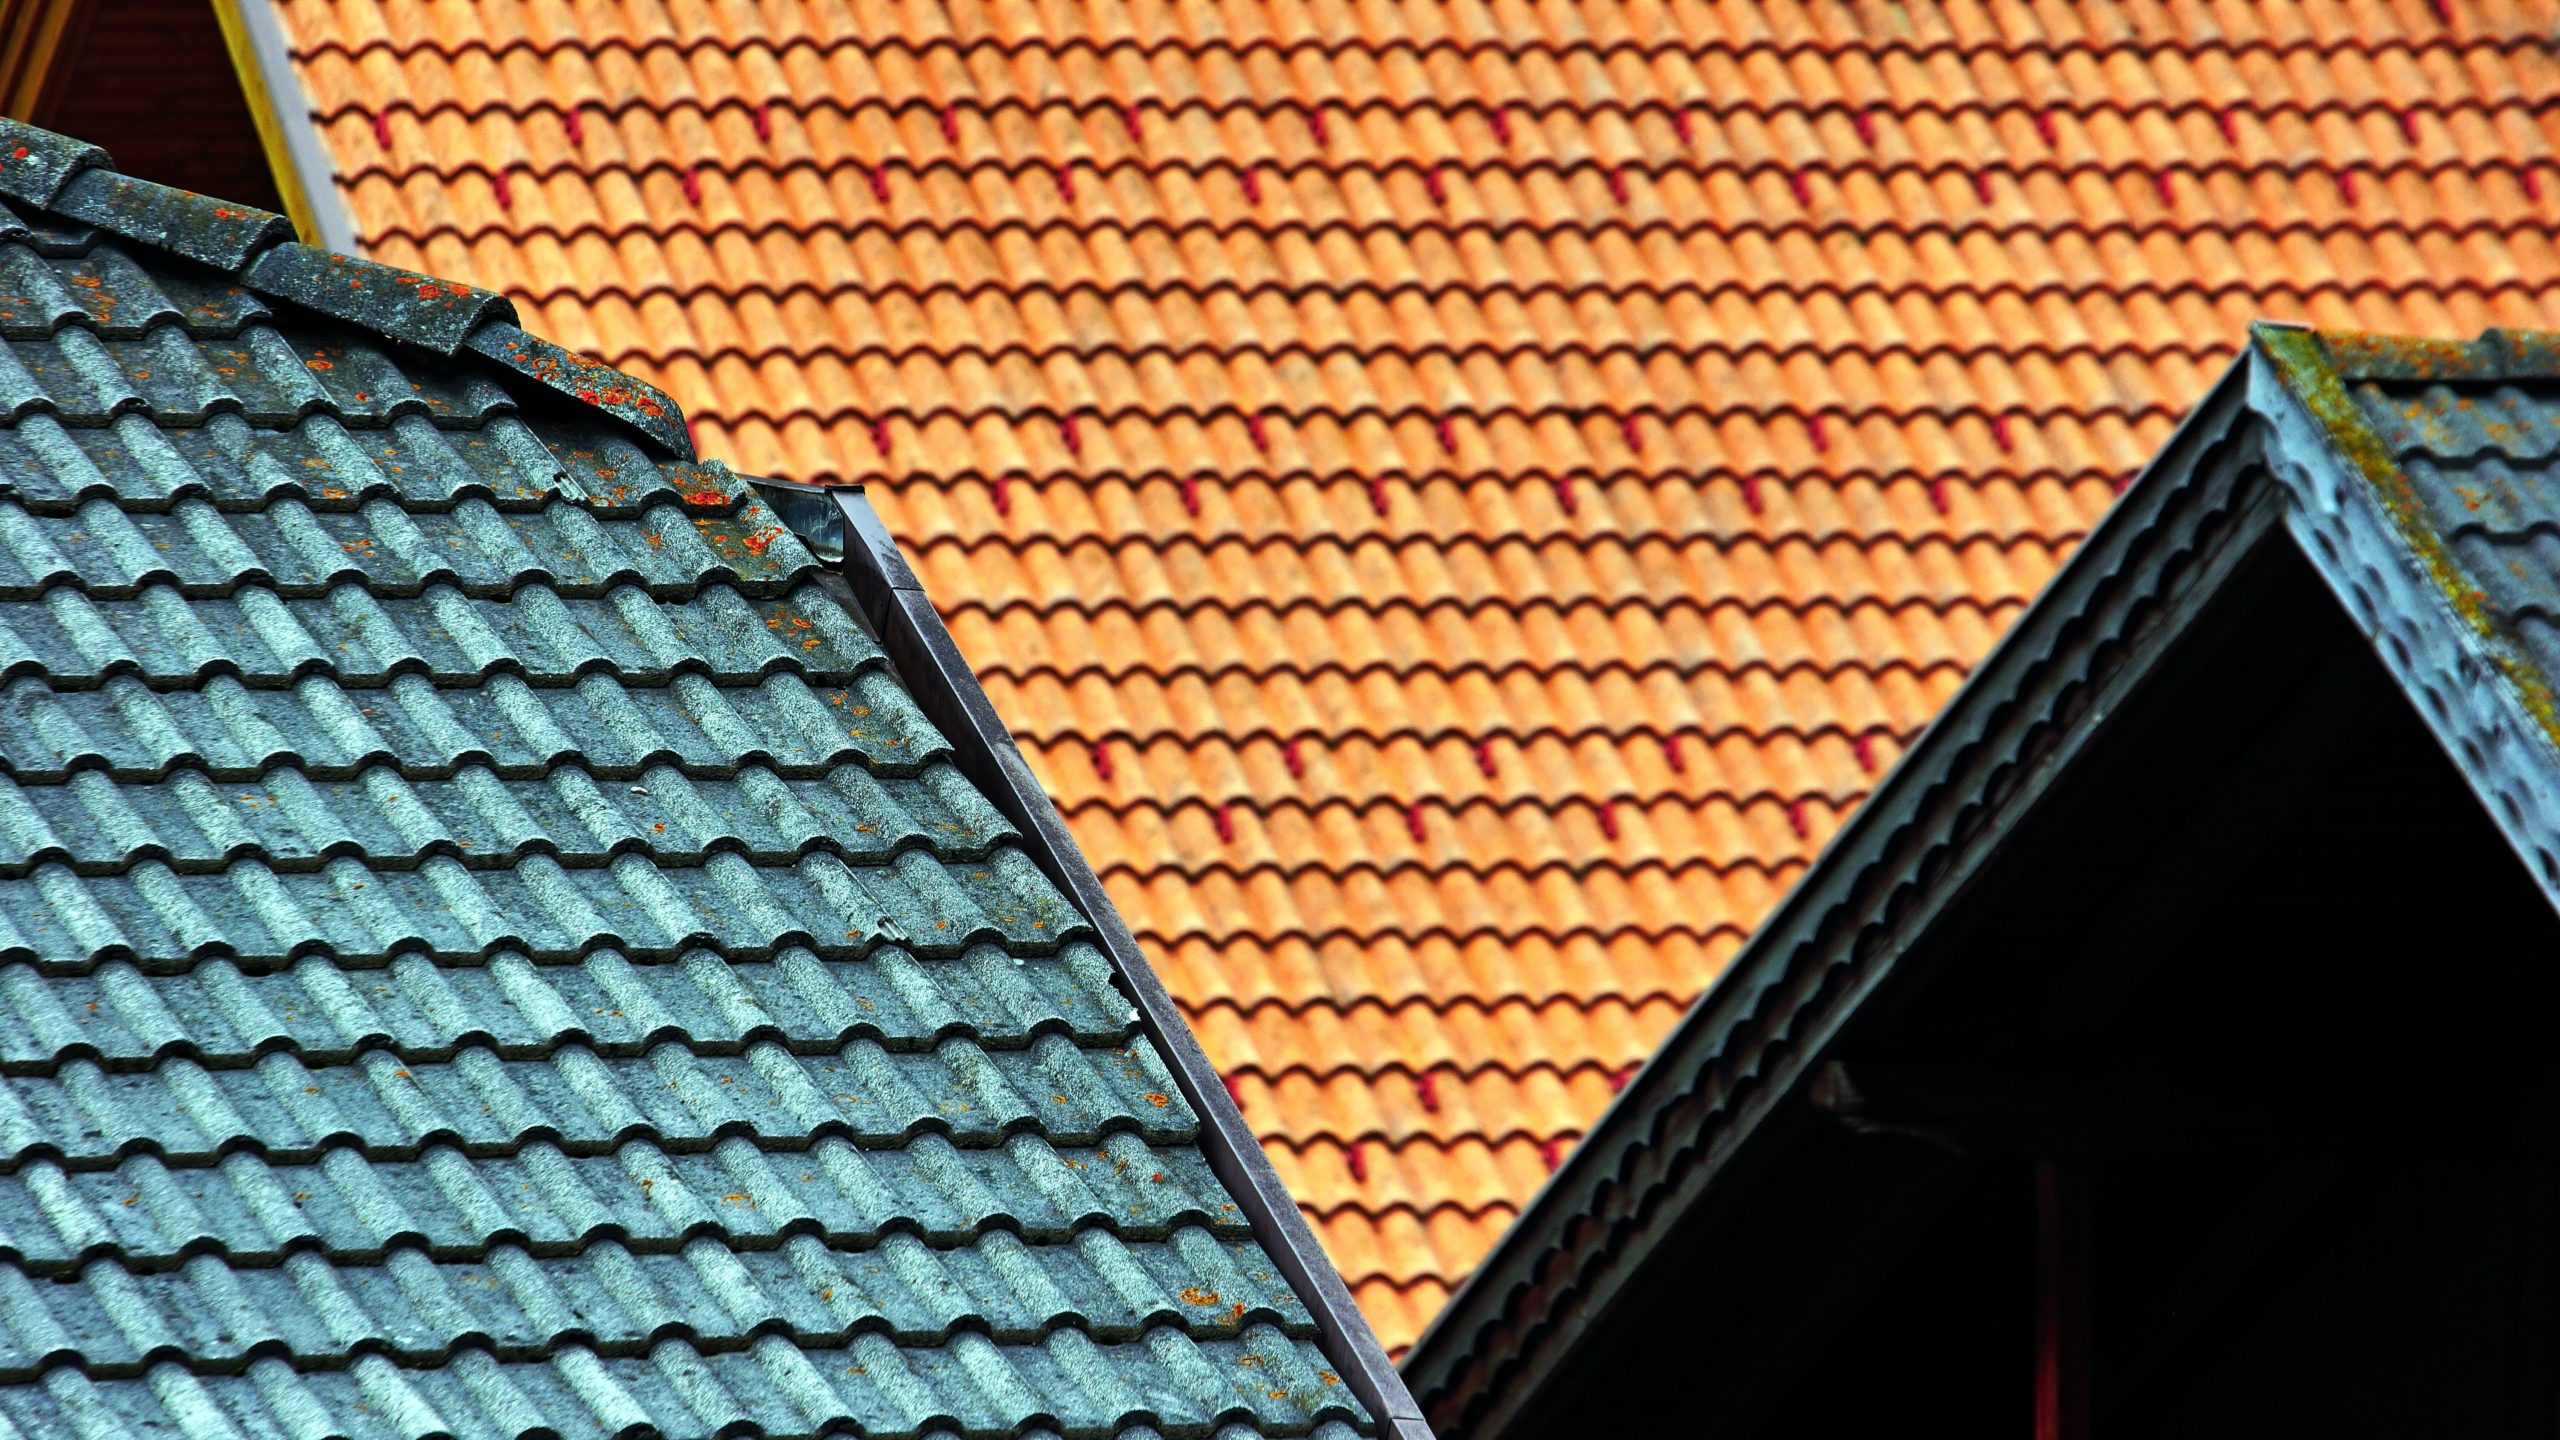
Why the Roof Is an Important Asset for Real Estate Value